We always want to keep our data safe and backed up. There are two ways to backup any data. The first one is the traditional way means a local backup on any storage device like a hard drive. The other way is using a cloud storage service. In recent years cloud storage has become a part of our life, and it is really useful. Here we are going to talk about one such cloud storage service, which is IDrive. IDrive is a cloud storage service that offers 5GB of free cloud space, and you can increase this storage limit by purchasing a data plan. IDrive is really easy to use on all the platforms, and it is also available for Android as well. Here is a complete guide on creating an IDrive account on your Android smartphone.
How to Create an IDrive Account on Android?
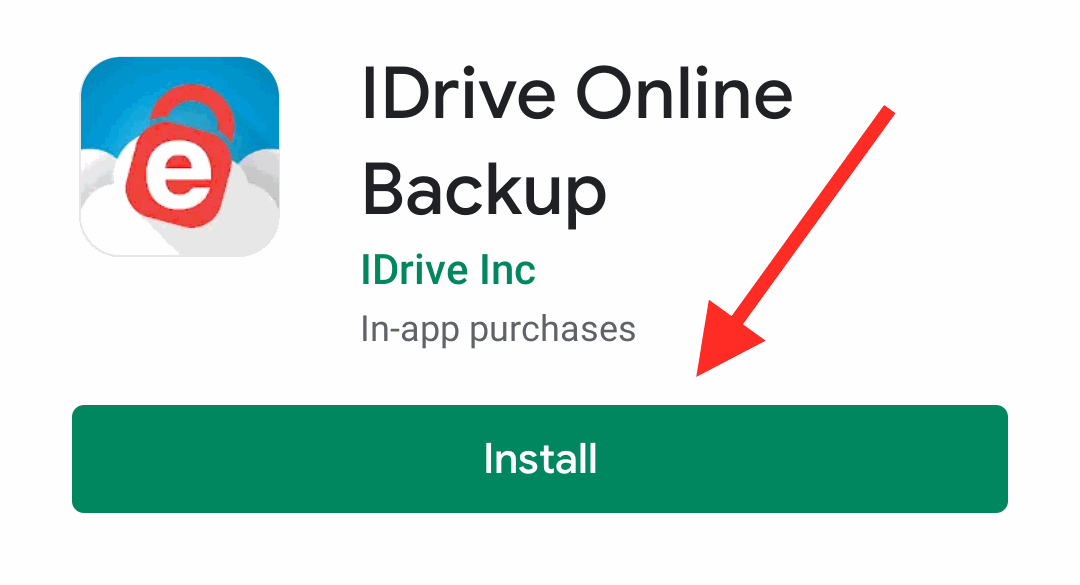
To use IDrive, you need an IDrive account, and it is so easy to create one. Firstly open the Google Play store on your device or click here to go to the download page of the IDrive app. On the play store download page, simply tap on the install button to begin the download.
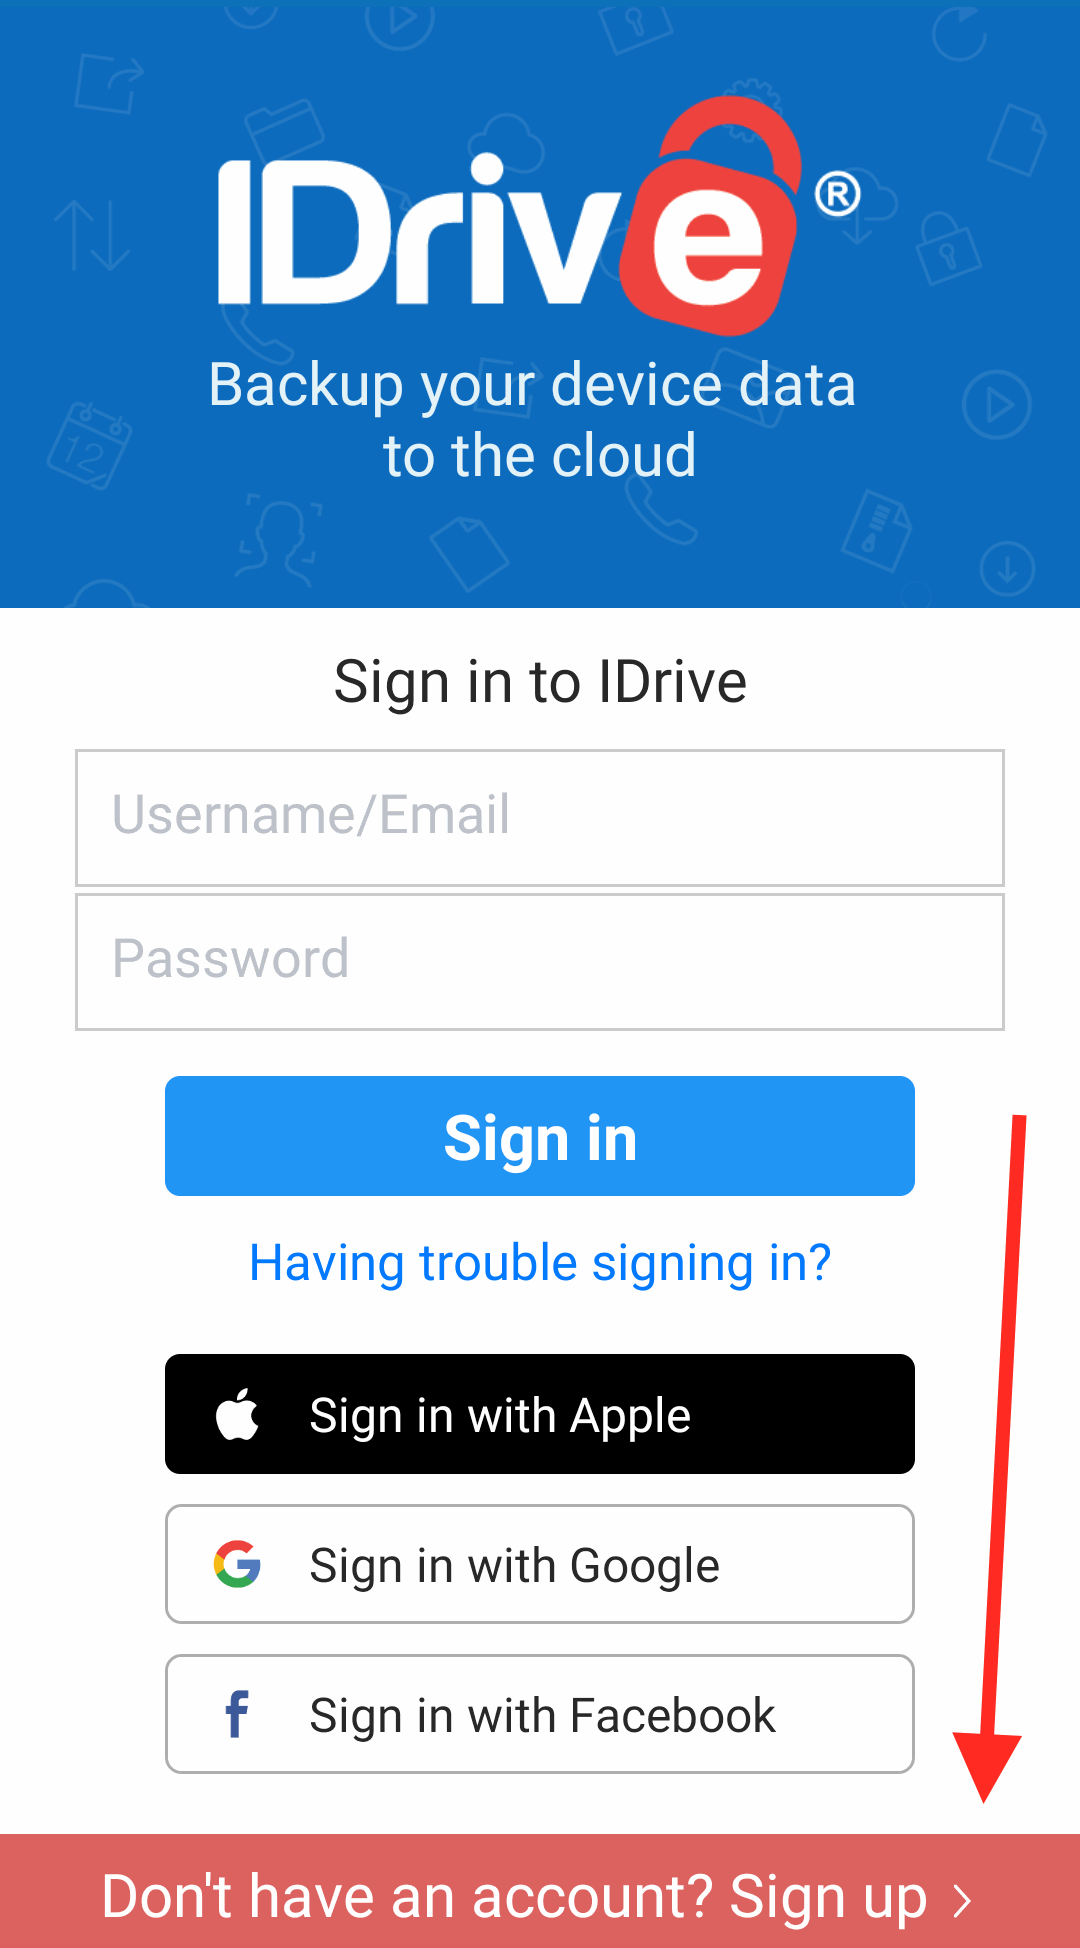
Open the IDrive app after successful installation. On the main screen of the app, you will see various options like a sign in with your account as well as sign in using your Google ID or Apple ID.
Note: All social login will activate only after you first sign up for this service. So first, make an account and then link your Google account and Facebook account for a seamless login experience. You need to click on the sign-up option. The signup option is located at the bottom of the app screen. Once you tap on the signup, you need to enter your Email and set a password to proceed.
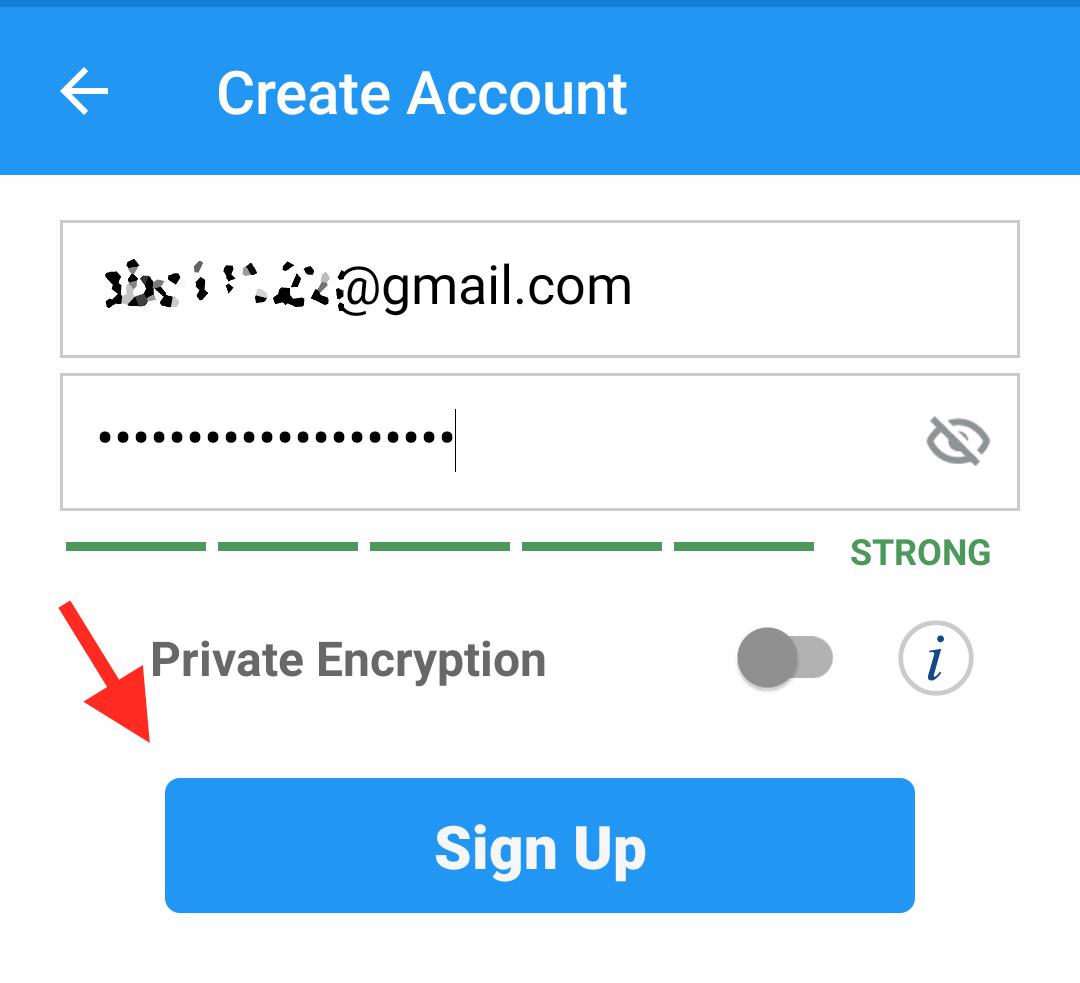
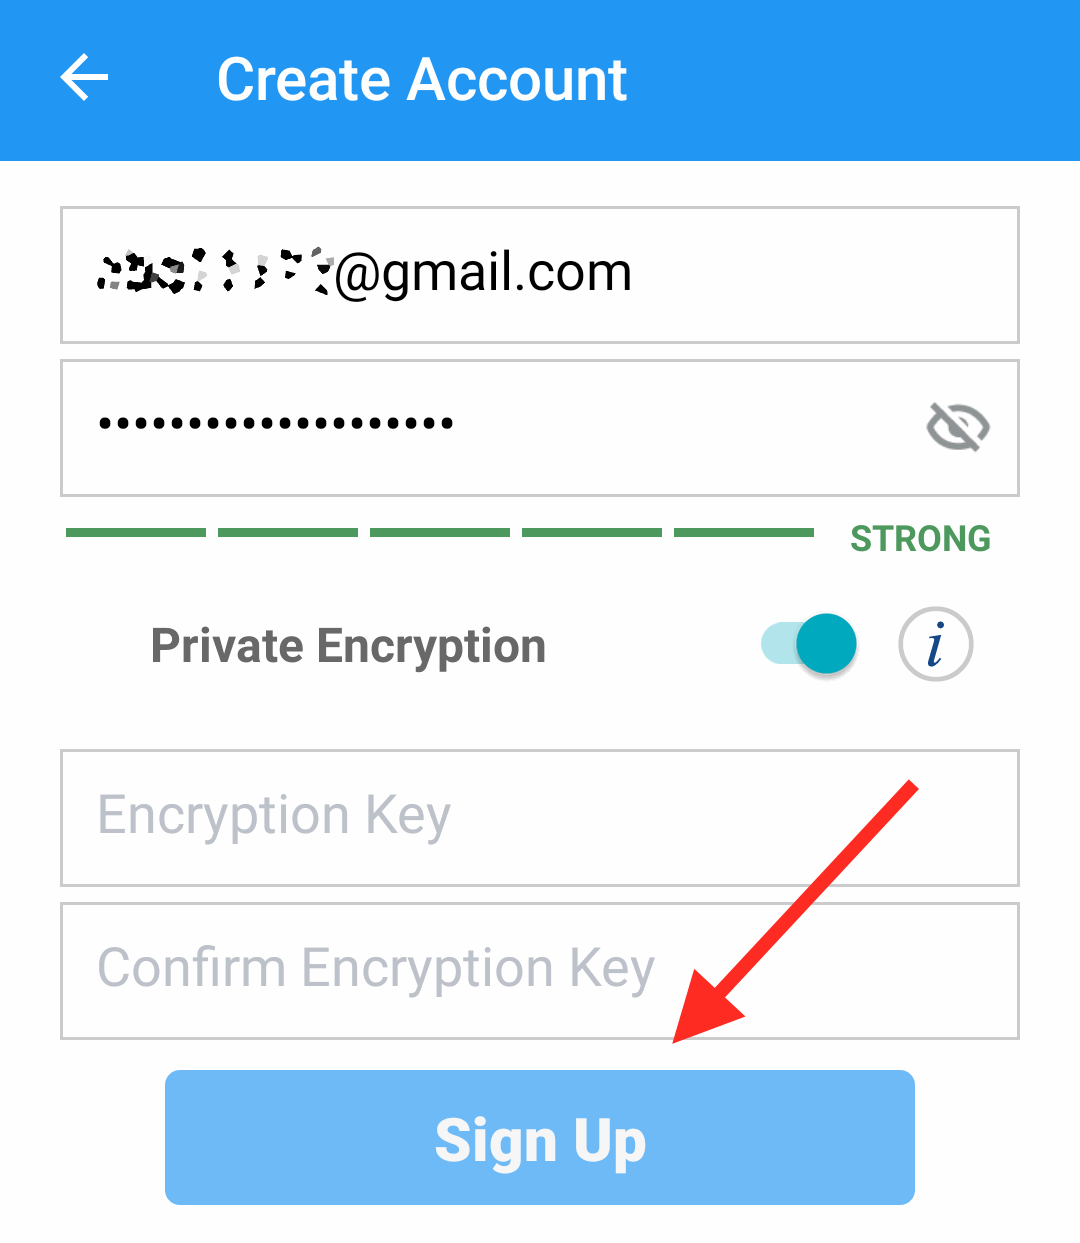
After that, you will see a toggle button to enable private encryption. If you wish to set a custom encryption key, then turn on the toggle switch by tapping on it. This will show you two new text box options. To set the custom encryption key, you need to enter the encryption key and confirm it.
As soon as you finish this process, your sign-up process will be completed, and you will be redirected to your account section of the app.
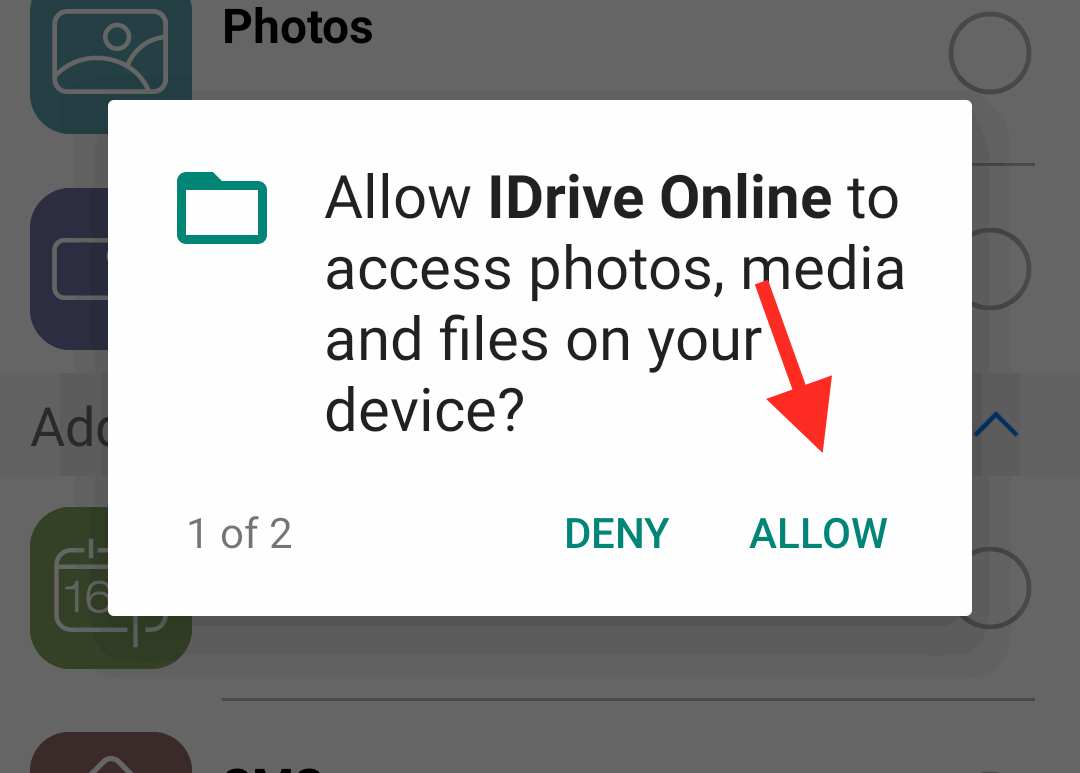
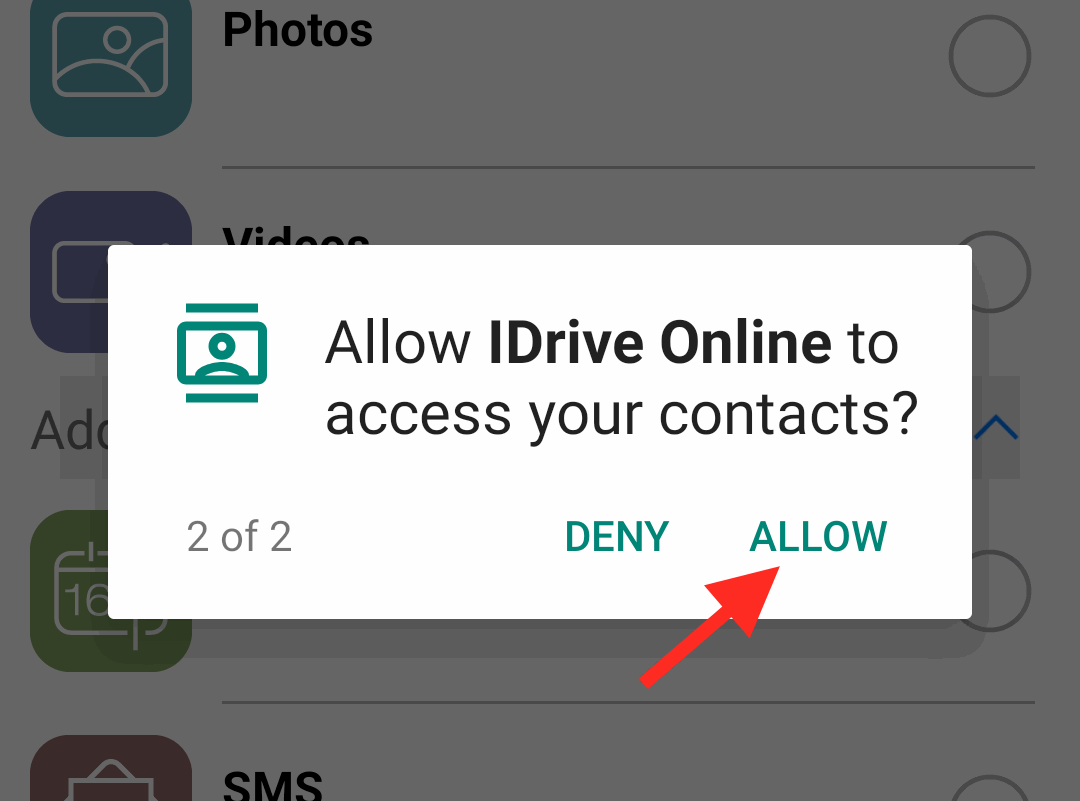
You need to allow storage and contact permission to use the backup feature.
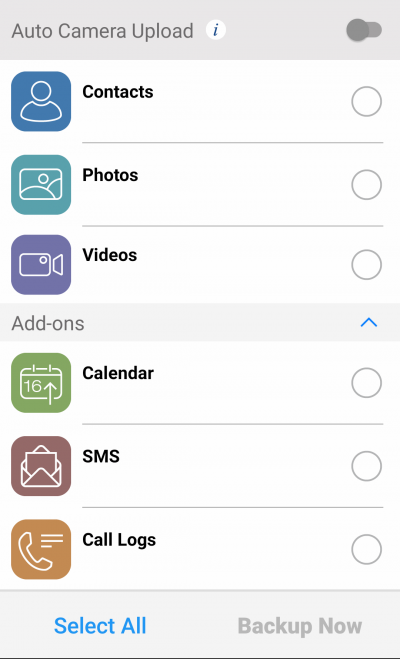
That’s all now, and you can take a backup of any data from the app itself.
Apart from daily backup, you can also store files, PDFs, study notes, and videos. It’s an all in one cloud drive with free storage of 5GB. In case you want to increase the storage capacity, then you can buy their premium plan, which is quite affordable.
Conclusion
This way, you can take a backup of all your data, and it will be safe on the IDrive cloud with secure encryption. If you use the custom encryption key, then don’t forget to note it down as it is required for the data restore. I hope this guide clears all your doubts and helps you in creating an IDrive account on your Android device.